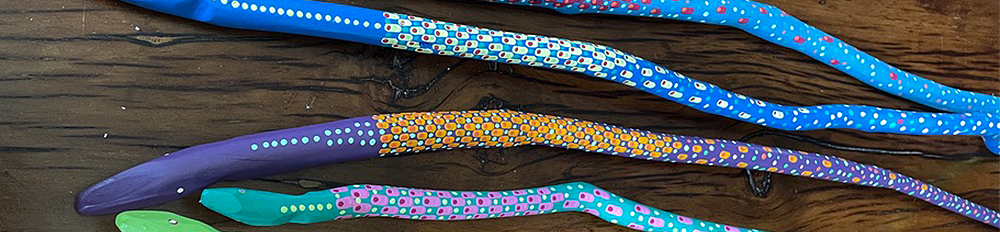
About folk art snakes. Had I only known when I left a bustling New York City architecture practice to enter academia with my first teaching position at the College of Architecture, University of Kentucky, that decades later, I would fondly reminisce on my nineteen years spent in Lexington. I say this as many of my friends at that time wondered why a move to Kentucky.
A question that I also asked myself—although the lure of teaching was intriguing. This dramatic change in my life should be prefaced by saying that at the conclusion of my phone interview with my future dean, I was asked if I had any questions. My unapologetic answer was: Where is Kentucky? I guess that such a casual attitude would not land me a job in today’s high stakes academic environment.
Many events led to my fondness for my newly adopted home of Lexington. From the leadership and enduring friendship with the college deans (Anthony Eardley, José Oubrerie and Charles Graves), to meeting terrific students who became over the years friends who are now seasoned architects, many of them leading firms that do great work which I am very proud of. And, of course, meeting my future wife. Finally, the Blue Grass landscape with its picturesque horse farms framing many historic turnpikes along with the white fences and limestone walls gave me a profound appreciation for man-made landscapes, especially given that I am an urban citizen at heart.
During my years in Kentucky, new artists came into my world and have been the focus of many of my collections and trace the creative trajectory and accomplishments of individuals such as Louis Bickett, Sonia Buser, Frank Doering, Carmen Grier, Michael Goodlett, Charly Jolly, Dana Motley, Jerzy Rozenberg, Arturo Sandoval, Ellen Skidmore, Paul Swisher, and Helene Steen. There are many other artists whose work I wish I had collected, but one particular collection that grew out of my time in Kentucky is folk art.
Kentucky folk art
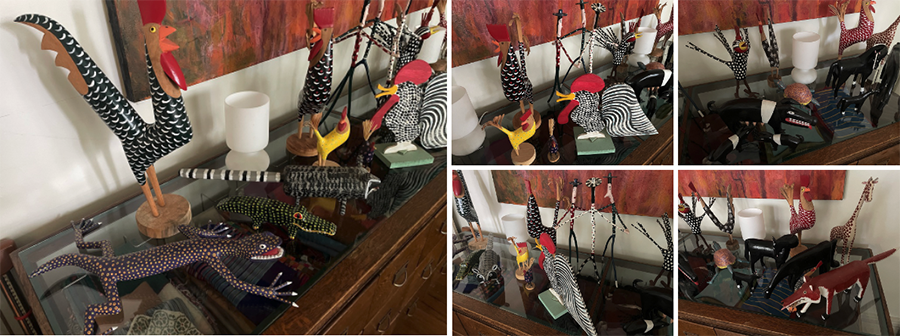
My collection of folk art encompasses about twenty different pieces—not counting the Christmas ornaments—that were purchased over three decades and form an ensemble of artists deeply rooted within their Appalachian heritage. Names such as Lonnie & Twyla Money; JoAnne Butts, Harry Jennings, Marvin Finn, Minnie Adkins, and Calvin Cooper give diversity to the collection (Image 1).
The vibrant colors, patterns, and imperfections show how each piece is made, and create the playful human forms and whimsical interpretations of farm animals and wildlife (i.e. fox, salamander, alligator, raccoon, crow, possum, turtle, giraffe, horse, and the ubiquitous rooster with its upright stance, puffed-up chest, high tail feathers, and bright comb). Each piece shows how self-taught artists can elevate the common to an art form and transform the everyday way of seeing into an object that triggers surprise and admiration. From the acquisition of my first piece, folk art entered my heart and added to another passion: collecting.
What fascinates me with folk art, as with most primitive furniture pieces that I own, is that they have grace and truth. Often belonging to what is called a minor art, these pieces have always interested me, similar to my admiration for architecture with a small a, rather than the academic Architecture with a capital A. Both folk art and farmhouse furniture—to mention two of my passions in collecting—silently and unpretentiously exhort the artist-artisan’s sincerity through hand-crafted objects that always do justice to human gestures that keep cultural traditions alive while representing specific heritage crafts.
In my experience and discovery of folk art, it has always exhorted an ever-present humility and silence, all the while having a strong presence based on clarity, honesty, and simplicity of language. This continues to command my attention. For what it is worth, my interest in this art may be seen as the antithesis of art that constantly seeks reward through the need for novelty.
Folk art snakes
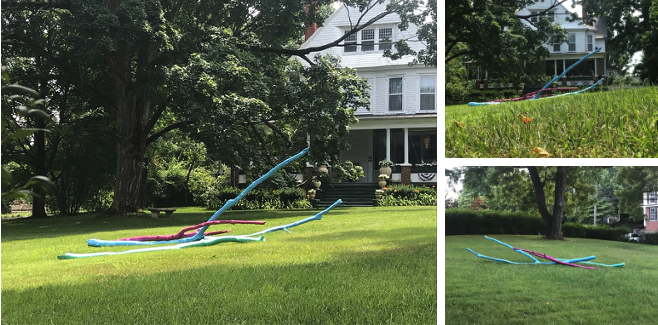
Fast-forward twenty years. A move to Virginia via California, and an unexpected fall storm that covered our downtown front lawn with a variety of tree limbs of different dimensions and shapes. It must have been an auspicious day, as my attention was drawn to three eleven to thirteen foot long branches. On a whim, I smeared a rough coat of bright neon green, blue, and pink paint on them, and set them in the middle of the lawn. Passerbyer’s noticed them and friends of ours commented that the forms were like snakes, colorful and playful creatures living among our majestic walnut and maple trees (Image 3).
My own folk art snakes were born and ever since, and particularly during walks with our two Jack Russell terriers, my eyes scout for branches that may lend themselves to the creation of playful snakes. Over the years, I have perfected a simple process that begins by removing the bark from the walnut or maple branches, then proceeds to sanding the wood, and applying various coats of paint, to inventing color schemes and patterns, before finalizing the snakes with several coats of warm polyurethane to protect them.
As with life, much is often a result of a happy accident. Trained as an architect, and now enjoying my new hobby of folk art snake making, I cannot simply leave many of these objects trouvés (found objects) as dead branches. There are many dead sticks and branches to choose from, but to meet my ambitions to transform limbs into snakes, they have to have movement; some twisting that gives them life before gaining an attitude through the definition of their triangular head and finally the various colored patterns. While all look whimsical, I like to believe that most of them are harmless, while a very few are certainly poisonous.
How are these snakes made?
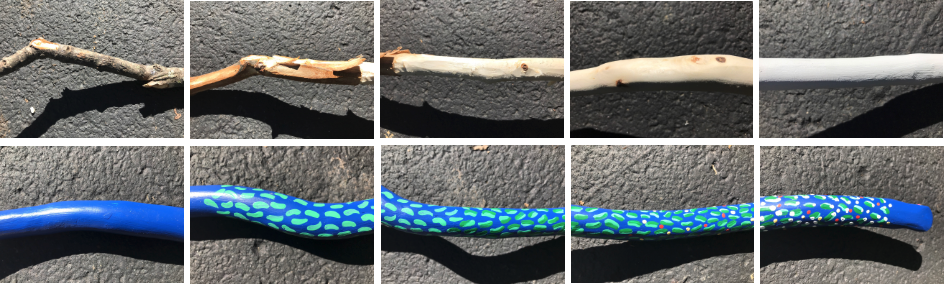
The process is not rocket science. After a stick is chosen based on its size and shape, time (depending on the type of wood) is given to strip several layers of raw bark until the bare wood is visible. This is done with a generic utility knife and some solid heavy-duty leather work gloves, which sadly need to be replaced as clumsiness often enters the process. Beyond that, since maple and walnut are readily available on our property, I favor species that have more structural strength allowing some sticks to feather thinly towards the tail without breaking when removing the bark (Image 4).
When this first painful process is completed, I prep the sticks by sanding them several times (with coarse to fine grit paper) until a smooth surface is achieved to receive several base coats of color, often starting with a generic white. Minor imperfections or more substantial holes are filled with wood putty and sanded again.
What is important in this process, is to keep any nodes visible as they give life and individual character to each snake beyond their squiggly shape. When rough spots are more pronounced, I gently sand around their contours as larger bulges suggest that the snake is digesting a festive meal! As both ends of the stick have been cut, I enjoy creating the snake head by varying its size, shape of its snout, and often carve out a dip on either side of the head to exaggerate its triangular shape. This is accomplished with several cuts with a circular saw to give the snake its desired features. Tails are simply feathered out, nothing more, nothing less.
Interpretating David Hockney’s color schemes
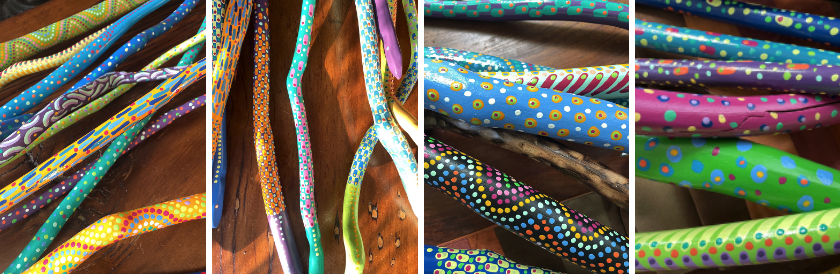
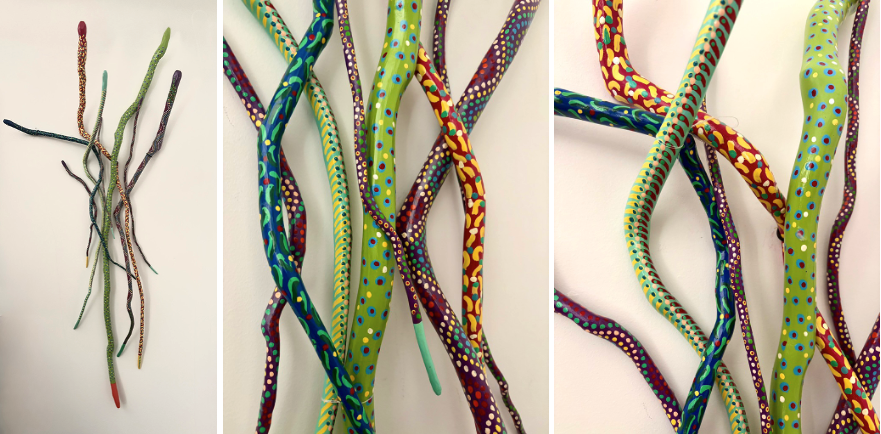
After both ungratifying processes, I can finally exercise my artistic liberty in choosing base colors and various patterns that give each snake a whimsical design (Image 5). Depending on the chosen color, several base coats are needed to fully give richness, depth and luminosity to the stick. Of note, the repertoire of colors has always avoided primary colors—for me, they seem just too generic and sadly part of the range of colors architect’s favor. I prefer bright, bold hues, opposing cold with warm colors. Recently, the palette used for my new batch of snakes referenced David Hockney’s combination and juxtaposition of electric blues, turquoises, vivid greens, red pinks, and sunny yellows (Image 6).
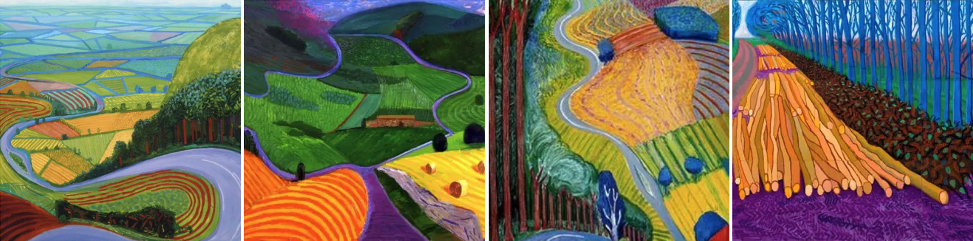
I have always admired Hockney’s paintings and, in particular, the more mature work represented in his landscape paintings. They have inspired me to use intense hues to create spirited colors avoiding the need to abide to a strict realism that other artists may favor when depicting folk art snakes. In this choice, I have also avoided depicting scales or fangs in my work.
After the base coat is set, various patterns are imagined. At the beginning, I would let myself be inspired by playful wrapping paper found at Michael’s and TJ Maxx! More importantly, the choice of colors is based on their relationship to each other and how they interact with the base color of the snake. Dots, dots within dots, evenly spaced dots forming dancing waves, lines, rectangles, single and double curvy waves, and patterns defining imaginary spines, and many other strategies are employed but rarely premeditated. I rely on the instinct of the moment and hope for the best, even if after countless snakes, many mimic previous color schemes.
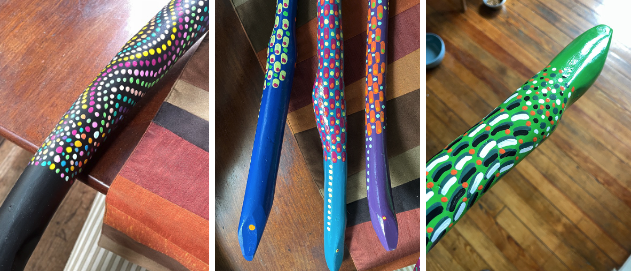
While choosing the correct brush size is essential, I like to play with the pressure exercised on the bristles. What I mean by this, is that more pressure will leave larger dots, less pressure smaller dots. Again, depending on the color and the intensity I wish to give to the dots, I often dip the brush in the paint for every single one, thus leaving a larger blob of paint that, with its neighboring other dots—typically smaller in size to give a hierarchy—create playful volumetric motifs that I call “polka dots.” In this process, colors tend to jump forward or recline as if dancing along the snake. Of note, snakes that feature a wavy dot pattern (Image 7, left) can have over three thousand dots! I guess the process can be called therapeutic.
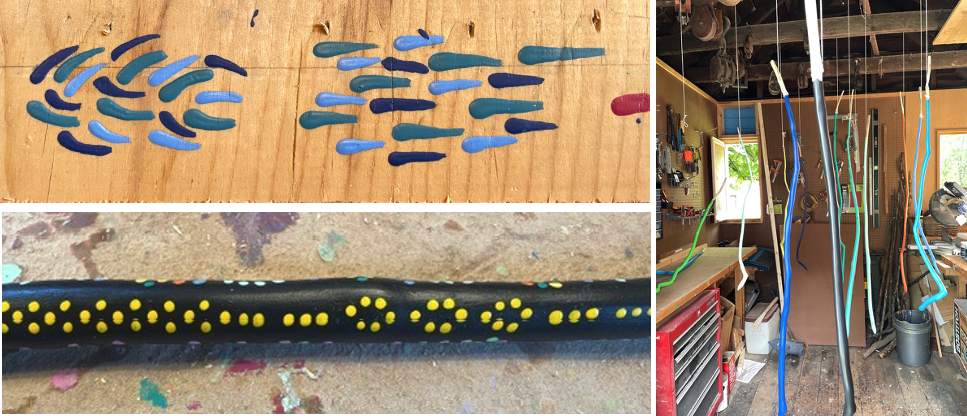
The head and tail of the finished snakes have evolved since the first iterations. In particular, the treatment of the head of the snake has lately included a necklace featuring all colors (often between 10-15 different colors when using the dancing wave pattern (Image 7 left).
As to the tail, I originally painted them a different color. This was initially not an artistic choice but one that came out of pure pragmatism. To give the base coat for each snake, I typically hang them head down from a string, thus leaving the tail to be painted later (Image 8). When it was time to complete the snake, the bare wood of the tail received another color, thus emphasizing how they were painted. Over time, while maintaining the same strategy to paint the base coat, I changed so that the tail design features dots. The process ends by hanging each snake and giving them several coats of warm polyurethane.
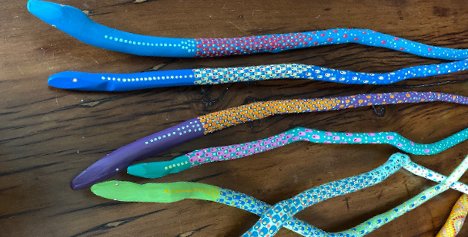
And what about the back of the snake? (Image 8) I typically use a bold color and create hieroglyphical patterns that oppose the overall snake pattern. The tail receives my initials and date, and the work is completed, waiting for a new owner.
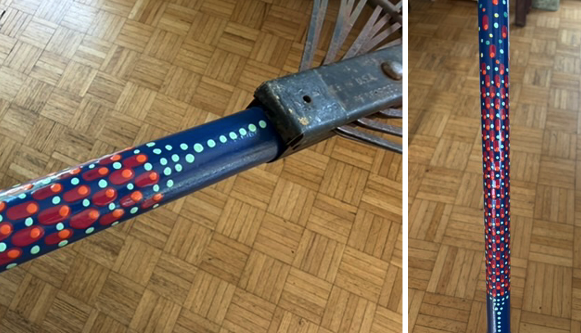
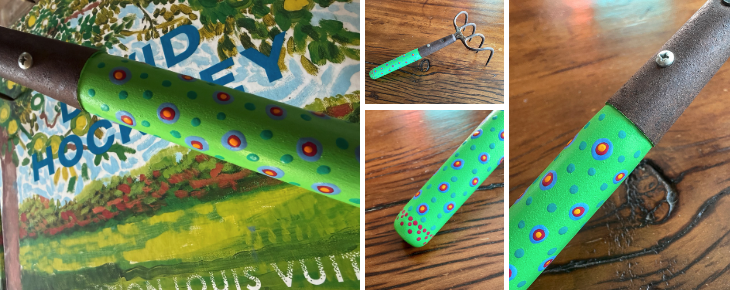
Other items that I have been asked to paint…
Additional links of interest
News about folk art snakes
Kentucky Folk Art Center
The nature of being: Shaker architecture